Anatomy of a Commission – Part II
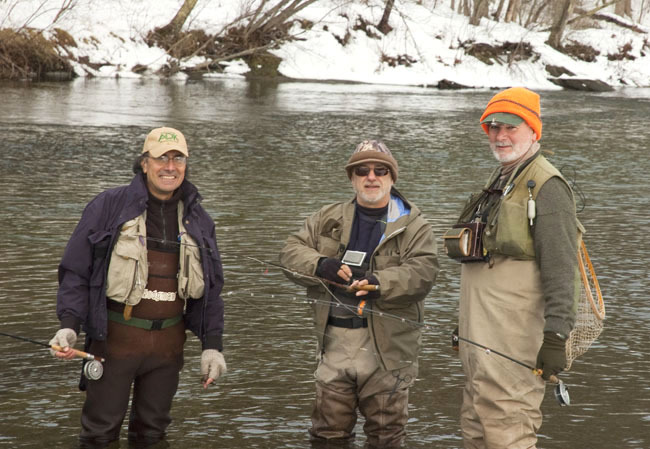
It’s hard to believe the Holidays have come and gone. With the snow building up outside, I’ve been busy (aka: locked!) in the studio painting. I did manage to sneak out New Year’s Day to fish a few hours on the Battenkill with two dear fishing buddies. The temperature hit 51 degrees on Saturday and the river was in perfect condition. It was a wonderful way to start the New Year. And to make the day perfect, I out fished both of them!
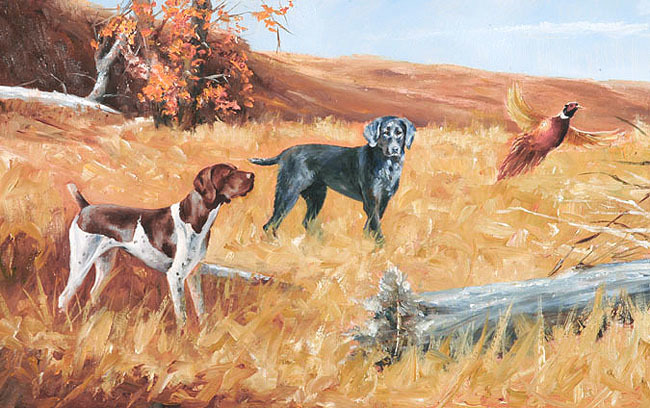
When I posted the first part to the commission process, I had completed a detailed sketch of the painting. I sent it along to my client for his comments and was given the thumbs up to proceed. I then went ahead and worked on a 7” x 11” oil study of the sketch.
When it was completed I e-mailed a photo of it to Mel. We discussed the study and also talked about what size the final painting would be. Mel left the decision of size up to me and so I made a few suggestions. We decided on a 24” x 36” painting. I felt this would be a good size to highlight the dogs but would not be overwhelming. Mel was not yet sure which room the painting would hang in but was narrowing it down. Some of you might ask why I make a small oil study at this point. I find it helps visualize the final oil. A pencil study is sufficient for a small painting but when doing a larger commission, I prefer to include a small oil study.
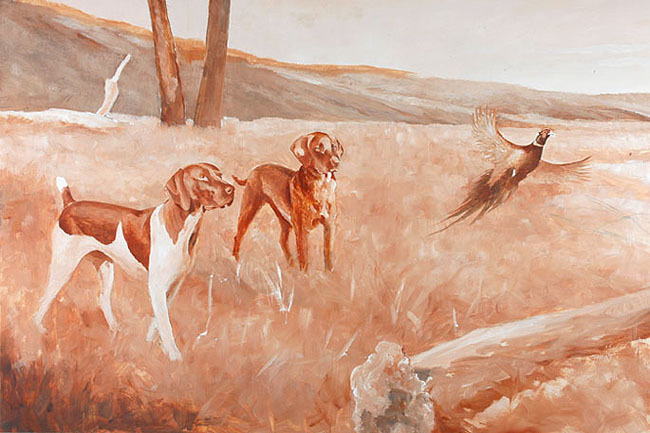
So the time had arrived to begin work on the painting. It might be interesting to explain a little my painting process. When I began painting many years ago, I did all my oils on a very fine Belgian linen mounted on wooden stretcher boards. I was never totally happy with canvas and looked for a different surface to paint on and so I started preparing my own tempered masonite boards, cutting them to whatever dimensions I wanted. A few years back I came across a product from a company called Ampersand that sold a smooth gesso prepared board and have been using it ever since with wonderful results. Because the surface is smooth, I first block in the painting with a base coat. I do this for a few reasons. For starters it gives me a surface that will hold paint better. It is also much easier and quicker to make major changes when you’ve just blocked in an oil rather than making changes after you’ve done the entire painting. Only burnt sienna, white and ultramarine blue are used to block it in, which gives a warm under-paint that I like. I’m sure if you studied the process of a hundred artists you would find a hundred different methods. But in the end the basic principle is that of putting paint down on a surface.
So the image was now sketched onto the 24” x 36” board and painted in. The amount of time needed before I proceed to finish the oil depends on how long it takes for the undercoat to dry. How thick I paint the undercoat, the humidity in the air, and the time of year, are all factors that determine how long it will take to dry. Normally a week, and the painting is ready to complete. So why did 3 weeks go by while I walked past the oil a hundred times? Something was not right. And when something doesn’t work I have the bad habit of ignoring it! Now during the warmer months I can sneak off to the river with a fly rod in one hand and a cigar in the other and totally ignore the problem. But with nothing but a foot of snow outside and temperatures in the 20’s I was in trouble! And besides I promised Mel the painting would be done sometime in 2011! So I had to step back and take a hard look at the composition. And the more I looked at the painting, the more I was not happy with the position of the dogs. Out came the razor blade and sand paper and off came the dogs! I went back and looked over Bella and Nella’s photos and realized I had not captured the dynamics of the scene. I spent 2 days re-sketching and blocking in slightly different poses for the dogs and this time I had it. No doubt, painting hunting-dogs flushing a bird is one of the hardest things to achieve properly for a sporting artist.
The painting is drying and I can’t wait to get into it in a few days.


